This is the next chapter in the series – Scalable, Highly Available, Secure WordPress on Azure.
Today, I will install and configure the couple of front-end web servers that we had created earlier with the APS (Apache2 + PHP + SSL Files) + WordPress software stack.
The scripts for this tasks are located under the folder – ‘webuser‘ . The description of all the files under this folder is provided here.
Install and Configure Web Servers
In order to install software on the web servers I will first login and copy the installation file to the remote servers and secondly execute the installation script remotely. Let me the steps in details and provide explanation of what the scripts are doing.
First, open a Windows command prompt and navigate to the folder \webuser. All the automation for this chapter is done by the script \webuser\scopy.bat.
...\scripts\V2\webuser> scopy.batImportant to remind that this file – ‘\webuser\scopy.bat‘ – has been updated with the public IP addresses of the two front-end webservers by executing the ‘7-configuring-linux-scripts.ps1‘ script previously. This step was described here.
‘\webuser\scopy.bat‘ file does few things.
- First it copies all the files from the current working folder to the default folder of user ‘webuser’ on the Linux machine.
- Second it executes ‘chmod’ command remotely. This command makes all the files endings with extension ‘.sh’ as executable on the Linux machines
- It next executes the ‘.\install.sh’ script remotely.
- This ‘.\install.sh’ scripts downloads and installs Apache2, PHP and WordPress software stack
- Once the installation is complete, it configures the Apache2 configuration files to recognise WordPress as the default website.
- Executes ‘\install-SSL.sh’ scripts remotely
- As described previosuly here, this script installs and configures the SSL components of the web server
- Next the script copies the ‘letsencrypt’ SSL files locally. These files are copied over to the other machines in its configuration.
The script repeats the steps for both the web servers.
Installation Notes: Script will ask for the passcode before executing any remote command on the server and will ask for this passcode multiple times during the installation. This is normal.
\webuser\scopy.bat content is shown below.
rem @echo OFF

echo "remove any existing remanants of lets encrypt folder"
del letsencrypt
set userName=webuser
set ipAddress=51.145.125.147

echo %userName%@%ipAddress%
echo "copy default files to 1"
scp .\* %userName%@%ipAddress%:.

rem Now install the basic WordPress
ssh %userName%@%ipAddress% "chmod +x ./*.sh"
ssh %userName%@%ipAddress% "./install.sh"

rem Now install the basic SSL - assuming its LetsEncrypt
ssh %userName%@%ipAddress% "./install-ssl.sh"

rem Now copy all the letsEncrypt files back locally
ssh %userName%@%ipAddress% "sudo chown -R webuser:webuser /etc/letsencrypt/"
scp -r %userName%@%ipAddress%:/etc/letsencrypt/ .

rem Now copy all the files back
set ipAddress2=52.151.106.39
echo %userName%@%ipAddress2%

rem copy default files to 2
scp .\* %userName%@%ipAddress2%:.

rem make necessary folder structure
ssh %userName%@%ipAddress2% "sudo mkdir /etc/letsencrypt"
ssh %userName%@%ipAddress2% "sudo mkdir /etc/letsencrypt/live"
ssh %userName%@%ipAddress2% "sudo mkdir /etc/letsencrypt/live/blogs.ninadkanthi.co.uk"

rem change ownerships
ssh %userName%@%ipAddress2% "sudo chown -R webuser:webuser /etc/letsencrypt/"

rem Copy lets encrypt files to secondary machine
scp -r .\letsencrypt\live\blogs.ninadkanthi.co.uk %userName%@%ipAddress2%:/etc/letsencrypt/live
@echo off
rem Not able to do it with one command here as erros as Host key certification failed.
rem scp -r %userName%@%ipAddress%:/etc/letsencrypt/ %userName%@%ipAddress2%:/etc/letsencrypt/scopy.

@echo on

rem default installation on secondary machine now.
ssh %userName%@%ipAddress2% "chmod +x ./*.sh"
ssh %userName%@%ipAddress2% "./install.sh"
ssh %userName%@%ipAddress2% "./install-ssl.sh"
Once the scopy script execution is complete, I should now have two fully installed and configured WordPress, Apache, PHP web servers. There is small matter of configuring the WordPress first installation page which I’ll describe next. but before I do that I need to briefly digress and explain contents of the .\install.sh and .\install-ssl.sh files as these file do the majority of legwork for installing the front-end web server.
The detailed explanation of the inner workings of both these installation scripts is provided in a separate page which can be accessed from here.
Configuring WordPress WebSite
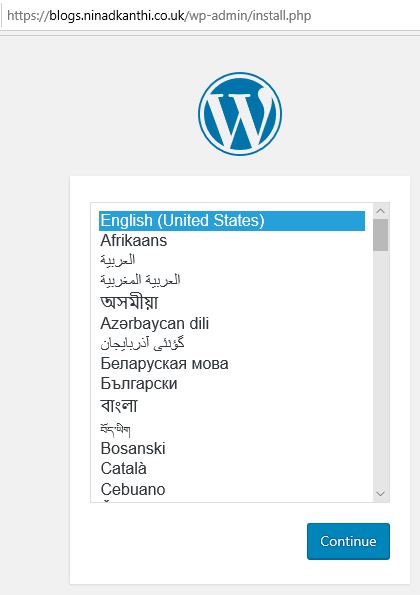
Open your browser and navigate type in the your address for the site – in my case this was ‘blogs.ninadkanthi.co.uk’. You should be shown the following WordPress welcome installation screen.

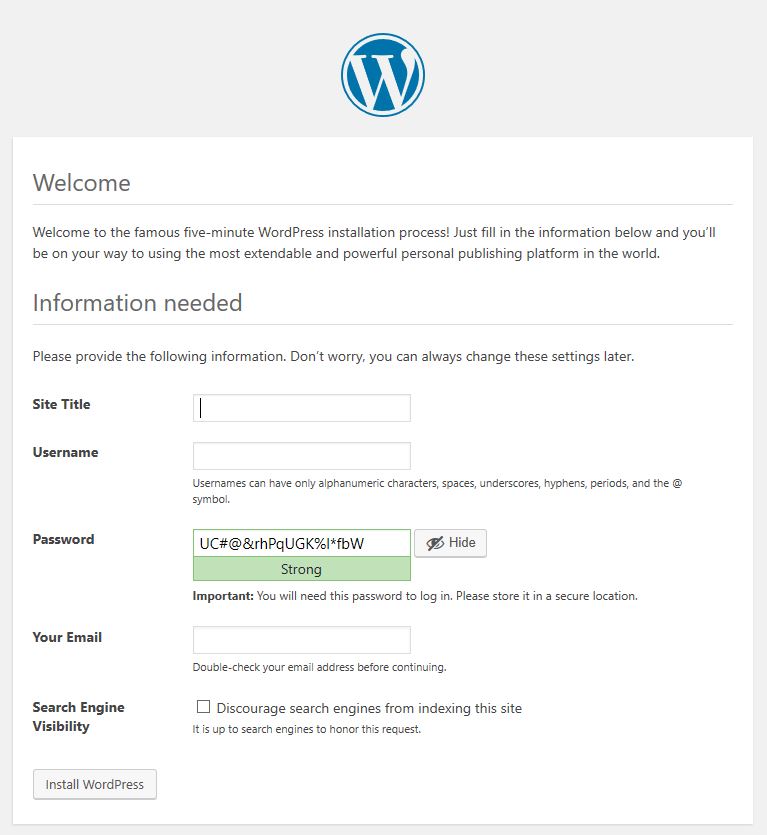
After selecting the language of your choice, I am presented with the standard WordPress five minutes installation process screen. I entered the Site Title, Admin user name and password and I am done ! All set !!! I’ve completed the WordPress installations within my target architecture.

Final Tidying up
Now that we’ve got the WordPress up and running, we need to close the RDP ports and extraneous public IP address that we had created to remotely access the web servers and database servers. For this I executed the Azure script – ‘6-detach-remove-temporaryIPaddress.ps1‘
The script removes the extra IP addresses created and also shuts down the RDP ports that were opened earlier.
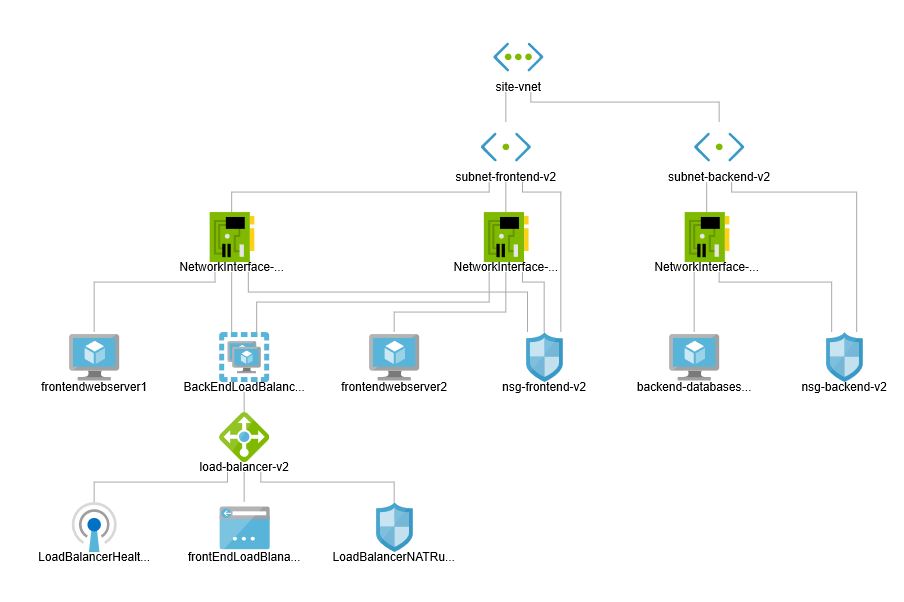
My final network architecture looks like following:

Done!!!
